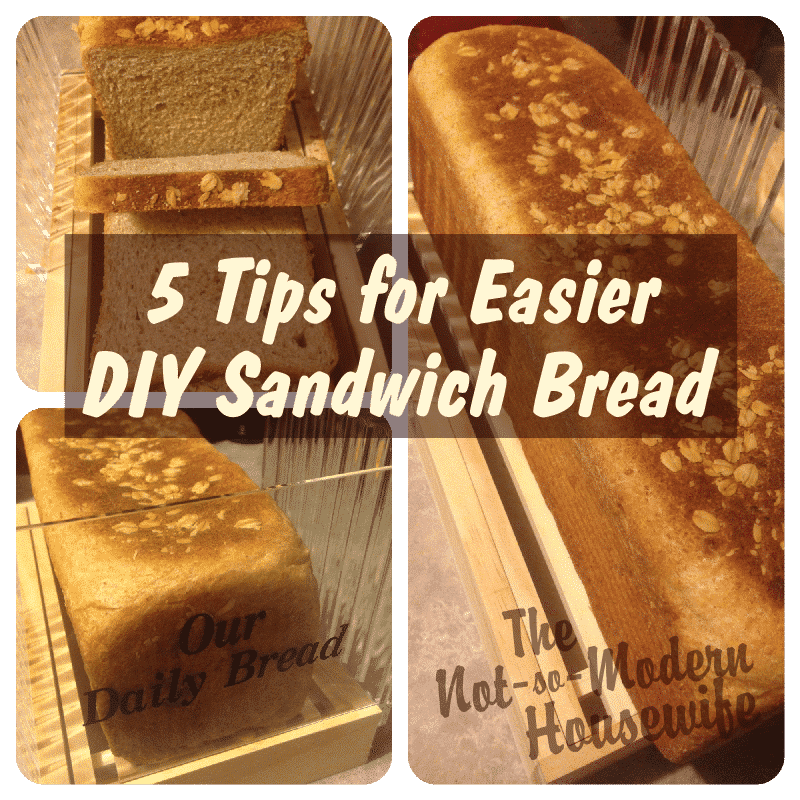
I’ve been obsessed with baking yeast breads for several years now. Straight dough, sourdough, artisan breads, molded and free-form, I’ve played with and tweaked more recipes than I can even remember. However, there has always been one type of bread that has always alluded me: “simple” sandwich bread.
Sure, I’ve tried about a dozen different recipes for breads that were said to make great sandwich bread. Some even came pretty close, but there was always something not quite right. The crust would be too hard or too thick. The bread would be too dry or too big or small of a crumb. The shape wouldn’t allow for good sandwiches or toast.
And that’s not even to mention my knife skills. I consider myself to be pretty good with a knife. I can break down a chicken and dice a carrot like nobody’s business. Ask me to make straight, even cuts into a loaf of bread, and it’s like you’ve just asked me to solve a Rubik cube. I don’t know why, I just can’t do it.

So, through a whole lot of trial and error and the help of a couple years of culinary school, I think I have finally figured out what I was doing wrong. And even better than that, I’ve figured out how to make the process easy enough to fit into my busy and active lifestyle. And yes, it’s with the help of a few gadgets. However, these few gadgets will make it all worth while in the end.
The Right Recipe
There are a lot of good recipes out there. You really have to find what works best for you. First of all, I prefer a dough with a little fat in it. This makes for a softer dough that will keep for a longer period of time. My favorite sandwich bread so far is my Honey Oat recipe. You’ll also want to use a fat (like oil) to wash or coat the dough before you cook it. That will make for a softer crust. Lastly, make sure you cover the dough with plastic wrap while it’s going through it’s final rise. This will keep moisture on the dough and prevent it from developing a thick crust.

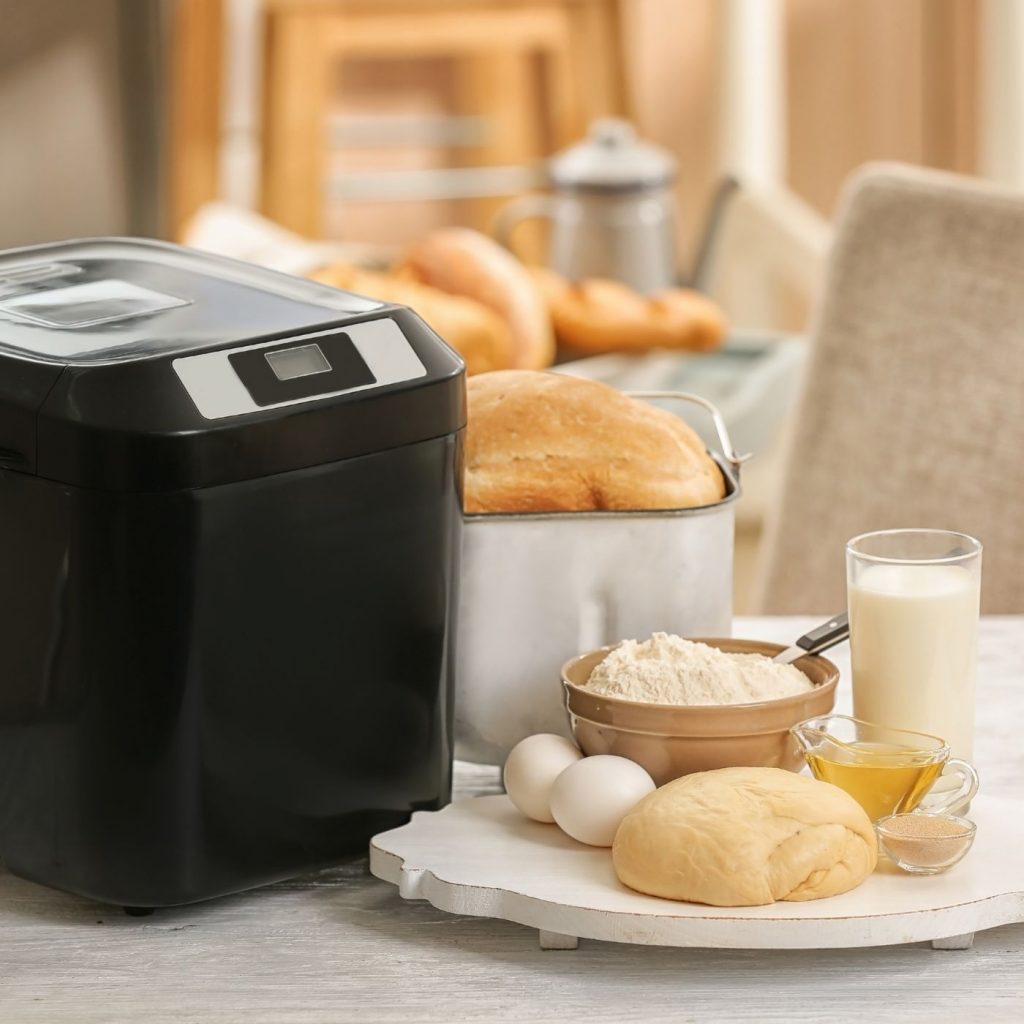
Save Time and Sanity with a Bread maker
First of all, let me tell you that I was anti-bread maker for a very long time. I was a die-hard, KitchenAid user through and through. My brother got me a bread maker for Christmas a couple years ago, and I was still hesitant. Don’t get me wrong, it makes a really nice loaf of bread; however, it makes a really weirdly shaped loaf of bread. It’s too tall for the toaster or sandwich bags. Plus, because the little mixing paddle bakes into the bread, it always has a hole in the bottom of the loaf.
Then I started using it to mix pizza dough. My world was changed. I no longer needed to babysit the mixer, test gluten development or fold the dough halfway through bulk fermentation. All I had to do was throw in the ingredients, and 90 minutes later I had pizza dough that was ready to be rolled out onto the pan. That got me thinking about making sandwich bread. I could use the breadmaker to mix the dough, then punch it down, shape it and bake it in my Pullman loaf pan. I would have the ease of using the breadmaker to mix the dough, while having the desired shape of a Pullman loaf.
The other nice feature about programable bread makers is the Delayed Start feature. Now that Henry is in school, I don’t have a lot of time (at least not all at once) to dedicate to bread making. Even if I put the ingredients in and hit Start, I can’t guarantee that I’ll have time an hour and a half from now to shape and bake the bread. However, I may know that I’ll have time 4 hours from now. I can put all of the ingredients into the bread maker (as long as it isn’t something like milk or eggs, which will spoil), and program the dough to be ready when I’m ready for it. The bread maker will automatically figure out when it needs to start, based on the mixing and bulk fermentation time. So if I set it to be ready in 4 hours, I can run in town or do whatever else I need to do and come back in 4 hours ready to shape bread and preheat the oven. You wouldn’t believe how much more convenient that makes the entire process.

Use the Right Bread Pan
What a lot of people don’t realize is that the nice square shape they’re accustomed to in commercial sandwich bread is due to a Pullman pan or something similar. I didn’t even learn this little trick until culinary school. Obviously, not all brands use a Pullman because some have rounded tops, but the rest of the pan is generally the same. Personally, I like keeping the top on my Pullman pan because it makes the loaf itself more dense. I chose the USA Pans brands because it’s the most similar to what I’m used to using in commercial kitchens. It’s a nice, heavy pan and seems very stick resistant. If you’re wondering why your loaves aren’t very tall or why they flop over the top of the pan, it’s because you aren’t using a Pullman.
I use a 4″x4″x13″ Pullman pan. I’ve found that it fits a 2 lb dough recipe perfectly (my breadmaker can make up to 2 lbs of dough in one batch). When the dough is done mixing, I pound it out on a floured surface and shape it into a cigar shape, sealing the edges. I spray the pan with olive oil, place the dough in the pan and cover with plastic wrap. You may need to roll or squish the dough to make it fit the pan. Don’t put the lid on until you’re ready to bake. Let it rise until the dough fills most of the pan. For the Honey Oat recipe, it takes about 45 minutes. This will vary depending upon the temperature and humidity in your kitchen. Use a pastry brush to brush olive oil onto the visible surface of the dough, spray olive oil onto the lid and slide it over the top of the pan. The pan can then be placed directly on the oven rack to bake.

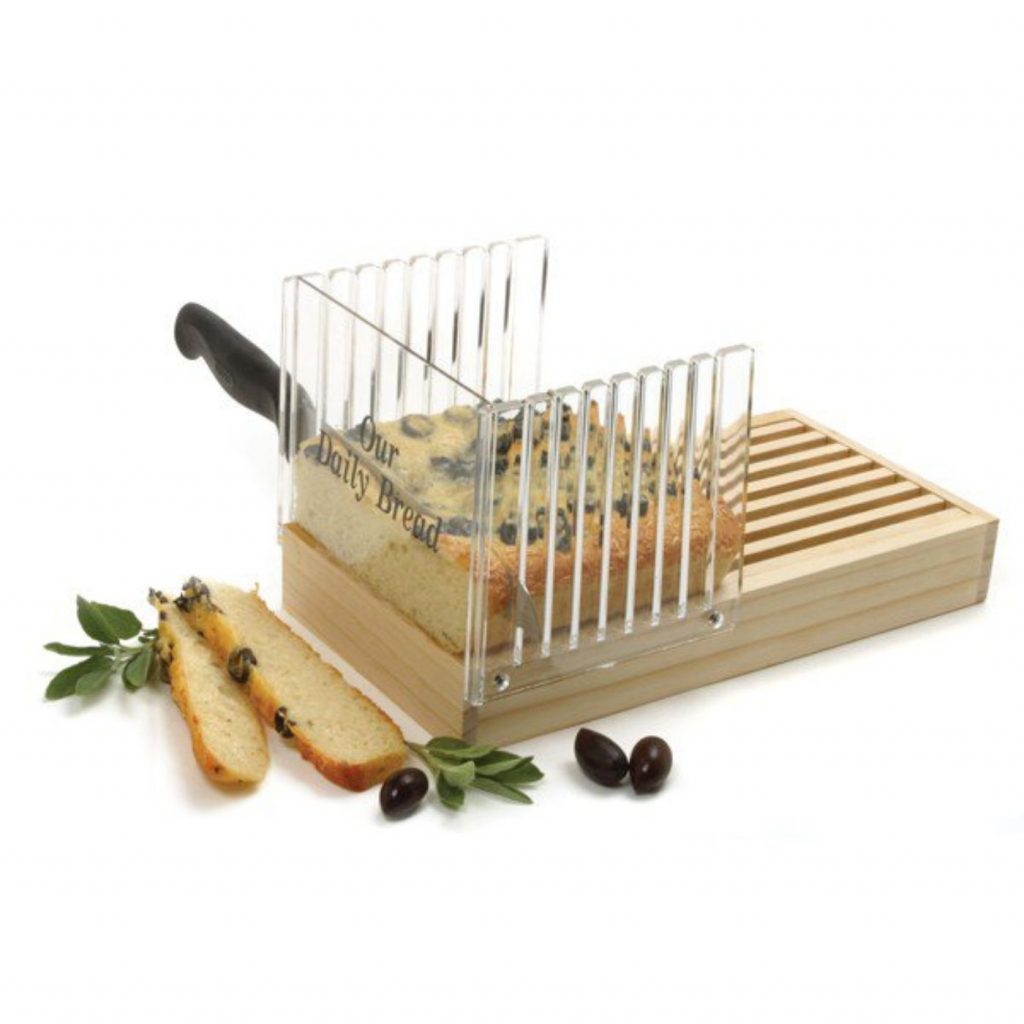
Use a Bread Slicer
I’ll admit, when I first decided that I wanted a bread slicer, I was thinking of a commercial model. Little did I know how expensive those handy pieces of machinery actually are, so I went in search of something a little smaller and more affordable. Ultimately, I decided to get a cutting board/knife guide. Not only is it a whole lot cheaper, but it’s also a lot easier to store. Plus, it’s really cute. Using a bread knife, I can slice the bread using slots in the plexiglass. I’m impressed with just how nicely and evenly I’m able to cut the bread with this. It really looks like commercial sandwich bread. Plus, the cutting board with crumb catcher keeps the mess to a minimum. I was originally concerned that I wouldn’t be able to cut completely through the loaf, but I’ve found that isn’t an issue. Generally, I only slice part of the loaf at a time. Extra cut edges means more surface area to go stale. The fewer pieces you slice, the longer the bread will stay fresh. However, having a few extra slices ready to go is very convenient.

Finding Proper Storage
One of the biggest challenges with homemade bread is getting it to keep for more than a day or two. Without the preservatives present in most commercial bread, homemade bread will go stale or moldy very quickly. So storage that will keep it fresh for as long as possible is vitally important.
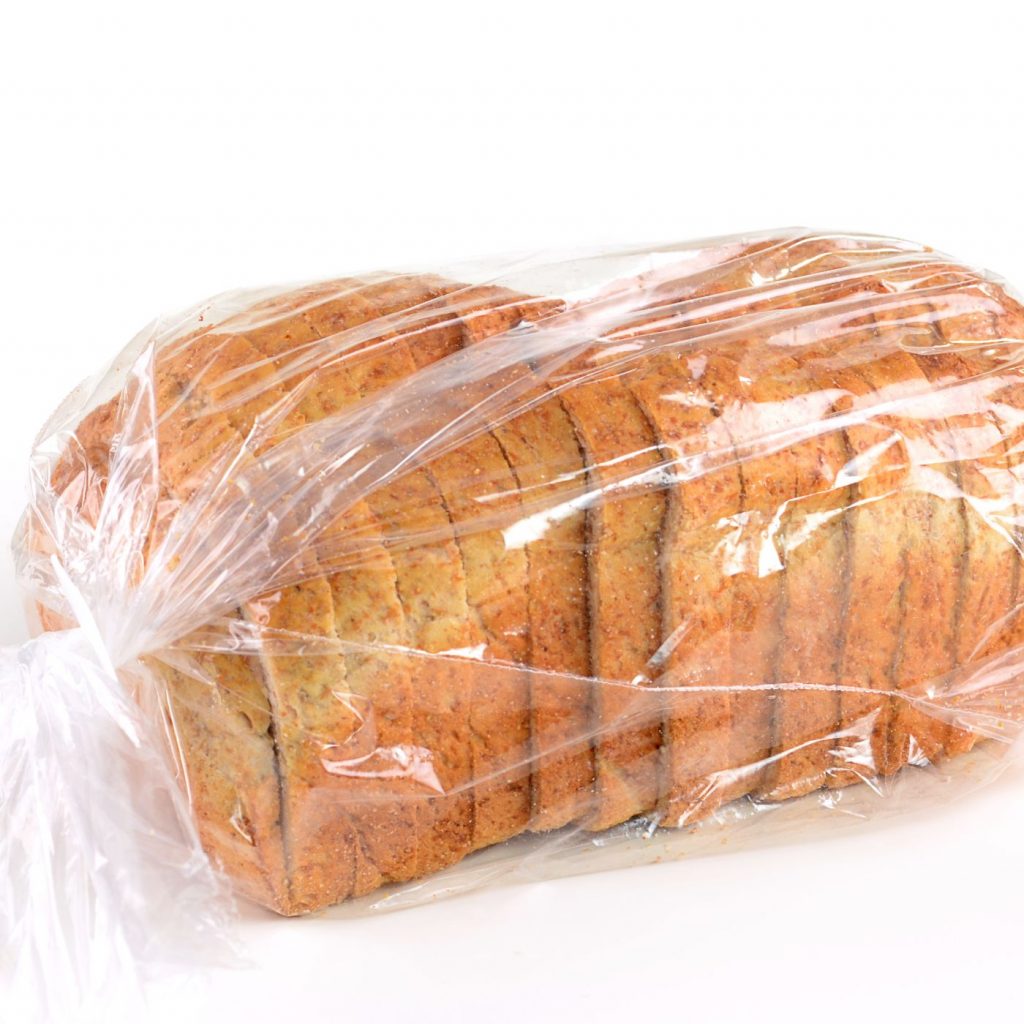
First of all, make sure the bread is cooled completely before putting it into any kind of storage container. Condensation is guaranteed to make your bread soggy and moldy. Paper is the best thing to store bread in, but I’ve found paper bread bags difficult to come by. (If you have a source for them, I’d love to hear about it.) I don’t like bread boxes because I’ve found that my bread actually molds faster in them. Probably a combination of Florida humidity and a dark environment. I do like the idea of this Reusable Bread Storage Bag, but I haven’t tried it yet. It’s on my Wish List. What I did end up buying were these Plastic Bread Bags. They’re convenient and I can use them to gift or freeze extra bread.
If you need to keep bread for longer than a few days, it’s best to store it in the freezer. If you want to slice it ahead of time, you can also put pieces of wax paper between the slices so they don’t freeze together. Do not store bread in the refrigerator. It will actually cause it to go stale more quickly.
And there you have it, my tips for making sandwich bread while also retaining your sanity. Give it a try. Not only will you have healthier, better tasting bread for your family, but you’ll save a lot of money. Do you currently make your own sandwich bread? Do you have any additional advice to share? Feel free to leave them in the comments.
